


The Making of Bitsy Bear: Art Toy Tutorial
I wanted to share with you a mini tutorial of how I created my stuffed Bitsy Bear. I used a soft, fluffy fabric from Fabricland, along with matching sewing threads. The stuffing can be used from a pillowcase, an old stuffed toy, small pine shavings, plastic pebbles, or anything really. It all depends on the feel you want to achieve with your personal art toy creation. I used air dry clay for the face, hands and feet of the bear. I chose to sculpt him on a rounded surface to get the natural curvature of the face. The paint I used was acrylic paint, which I use in layers to get more of a textured skin appearance. When all the parts are painted, sewn, and glued into place, you can add little add ons like a bow tie and buttons. It can even be a female bear with a cute frilled collar and bow tie on her head. Follow these steps and make your own version of Bitsy Bear:
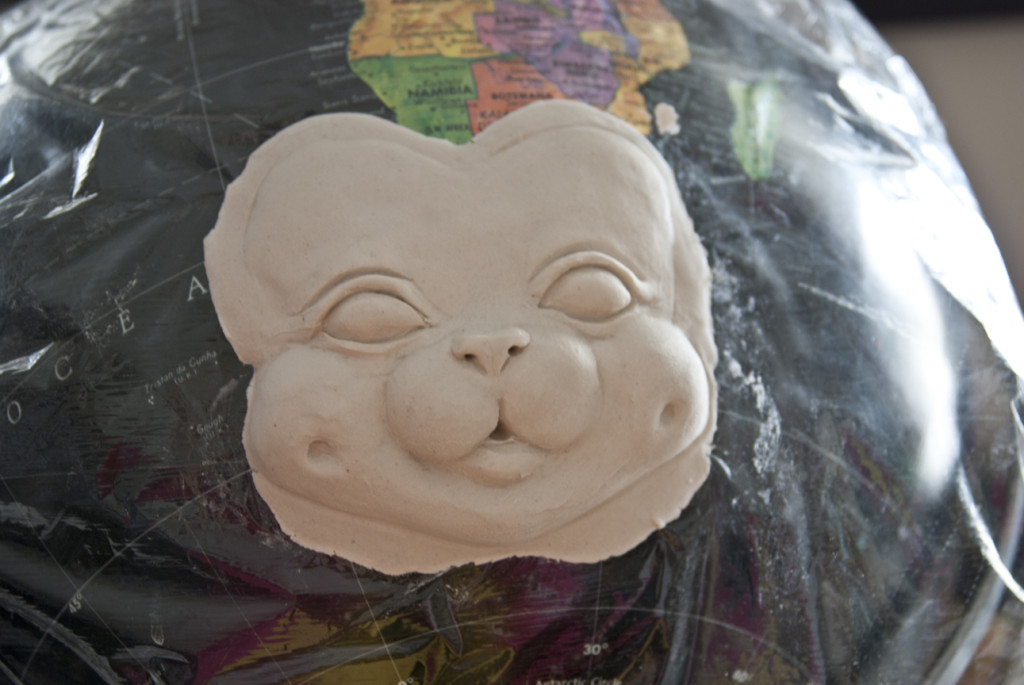
I used a globe during the sculpting process only because it had the right curvature of the face I desired.
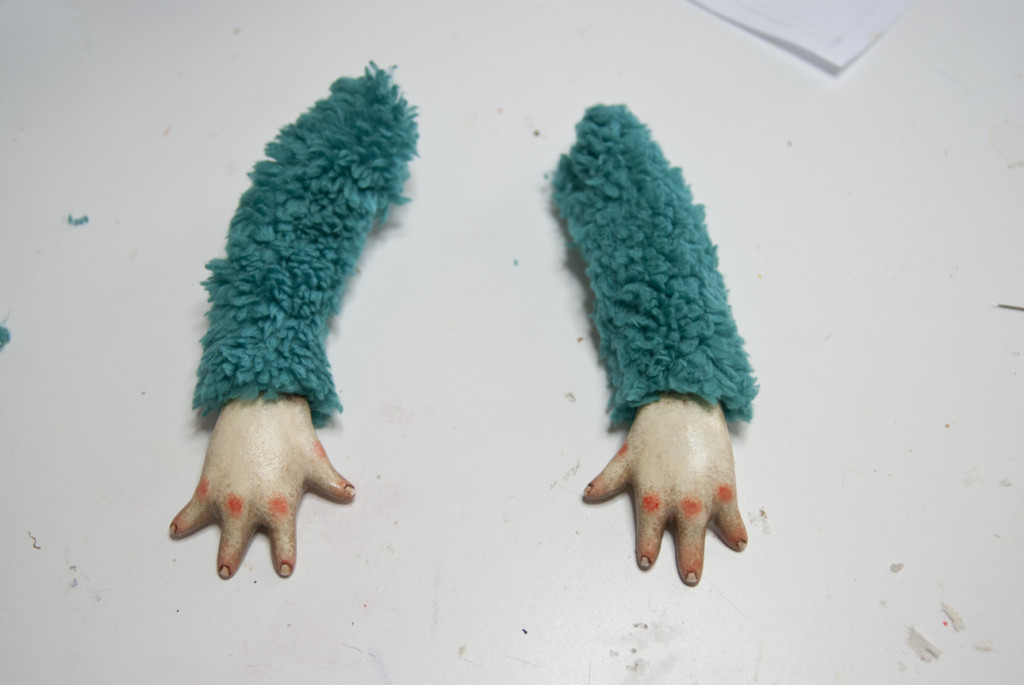
Skinny arms ready to be sewn on to the body. They’re glue gunned into place.
The body sew lines came out a bit slanted, but that’s fine in this case since its only the tester prototype.
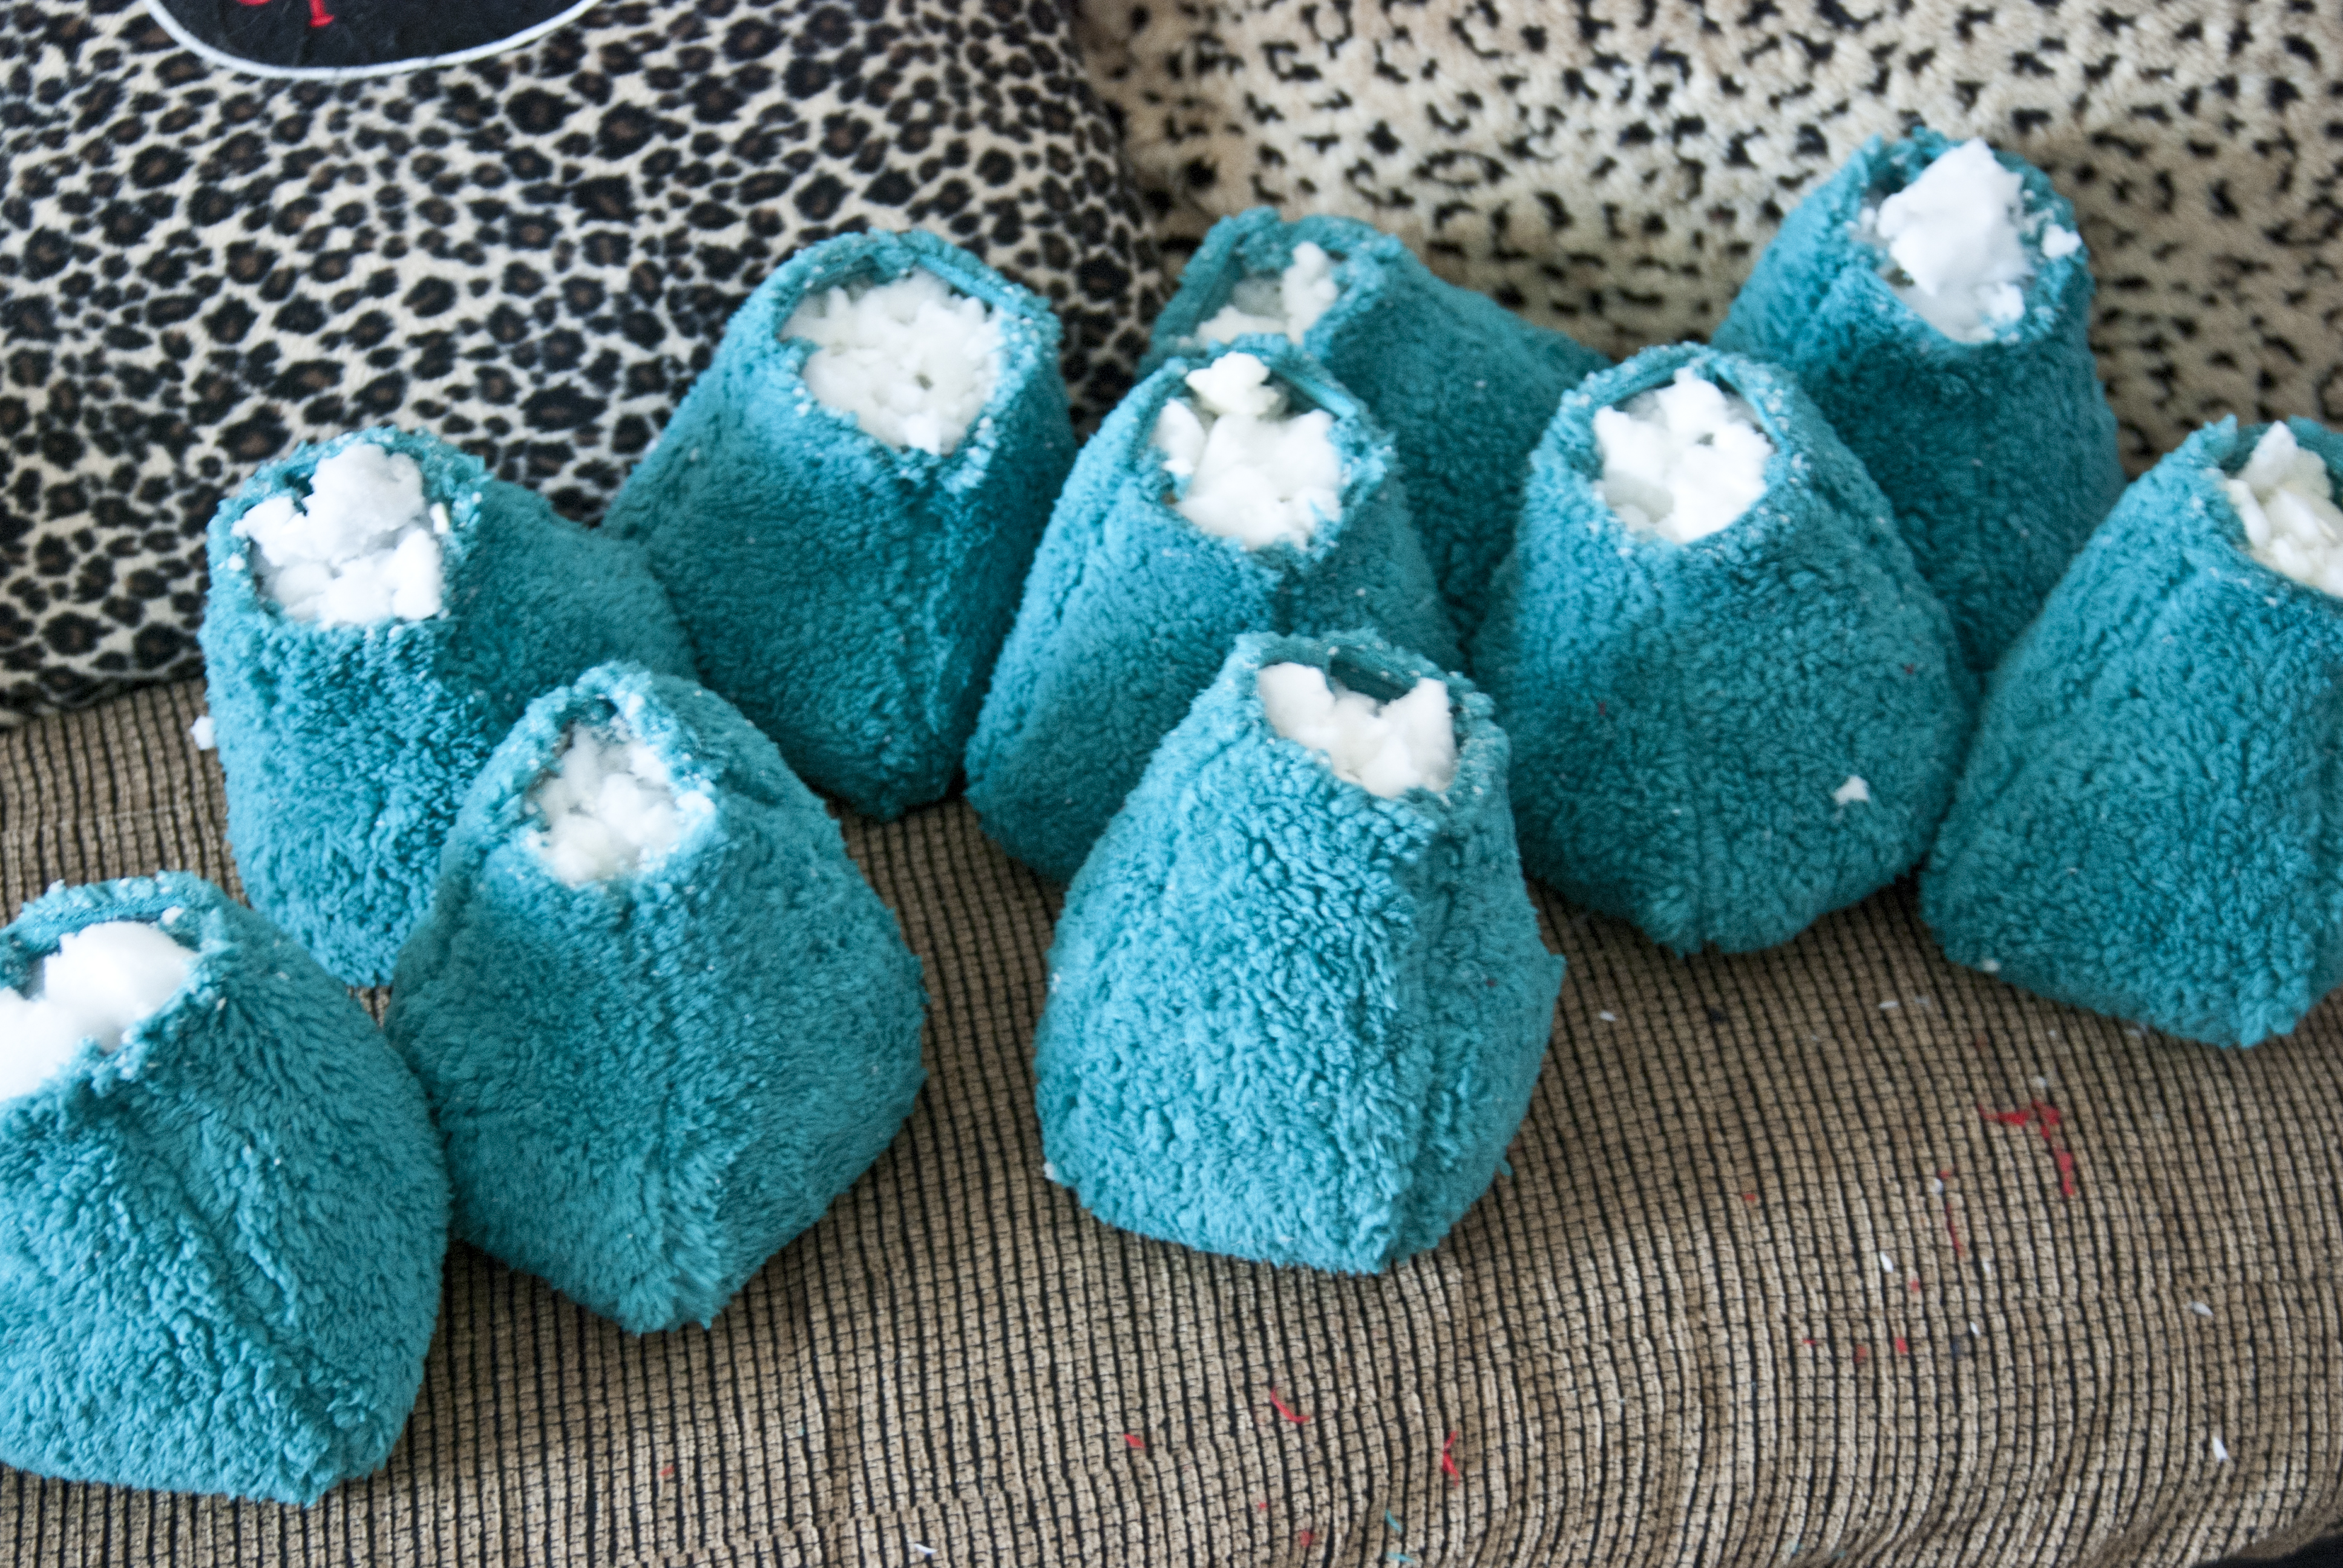
Stuffed Bitsy Bear bodies ready for limbs
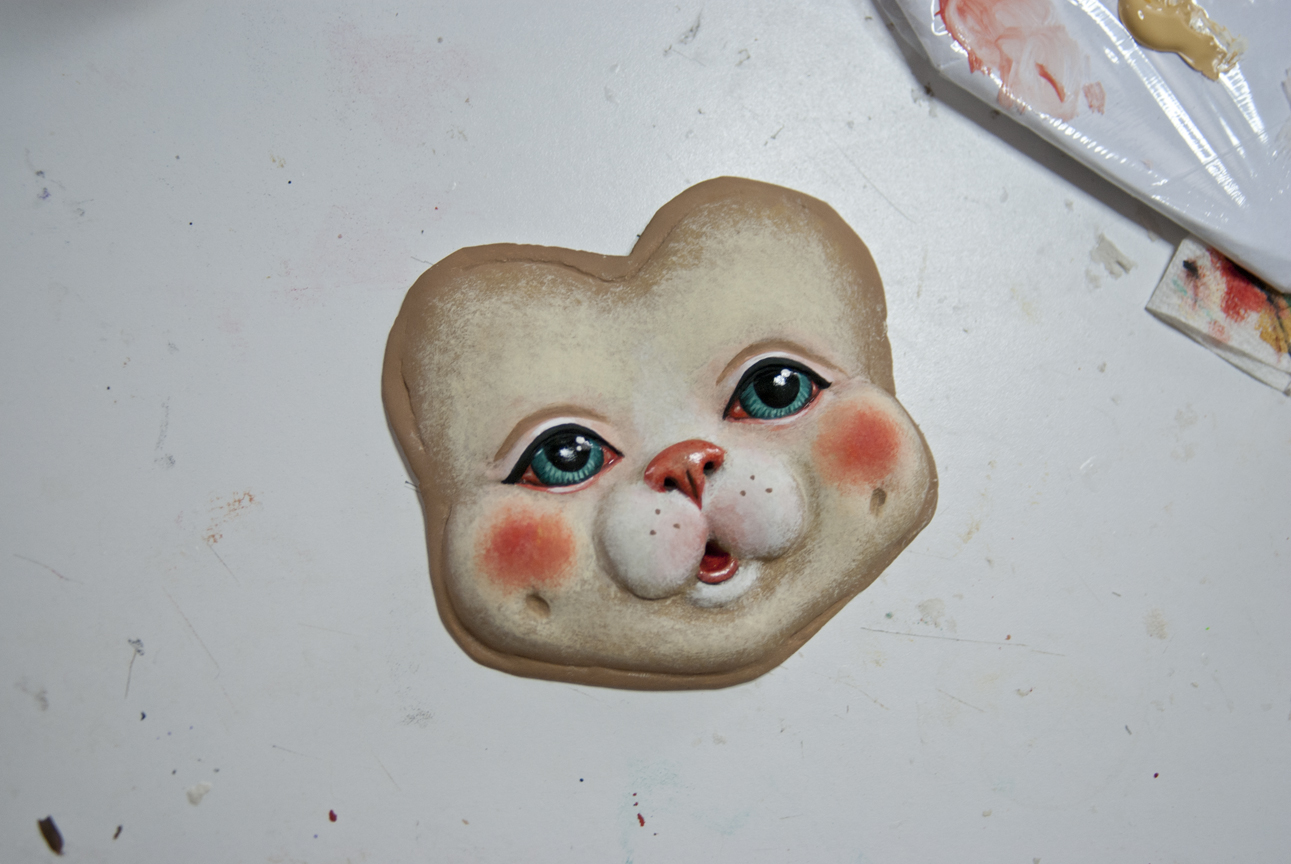
The clay face has been painted using acrylic paint and sealed with a matte finish coat. The eyes, nose and bottom lip have been glossed with varnish for a more realistic look.
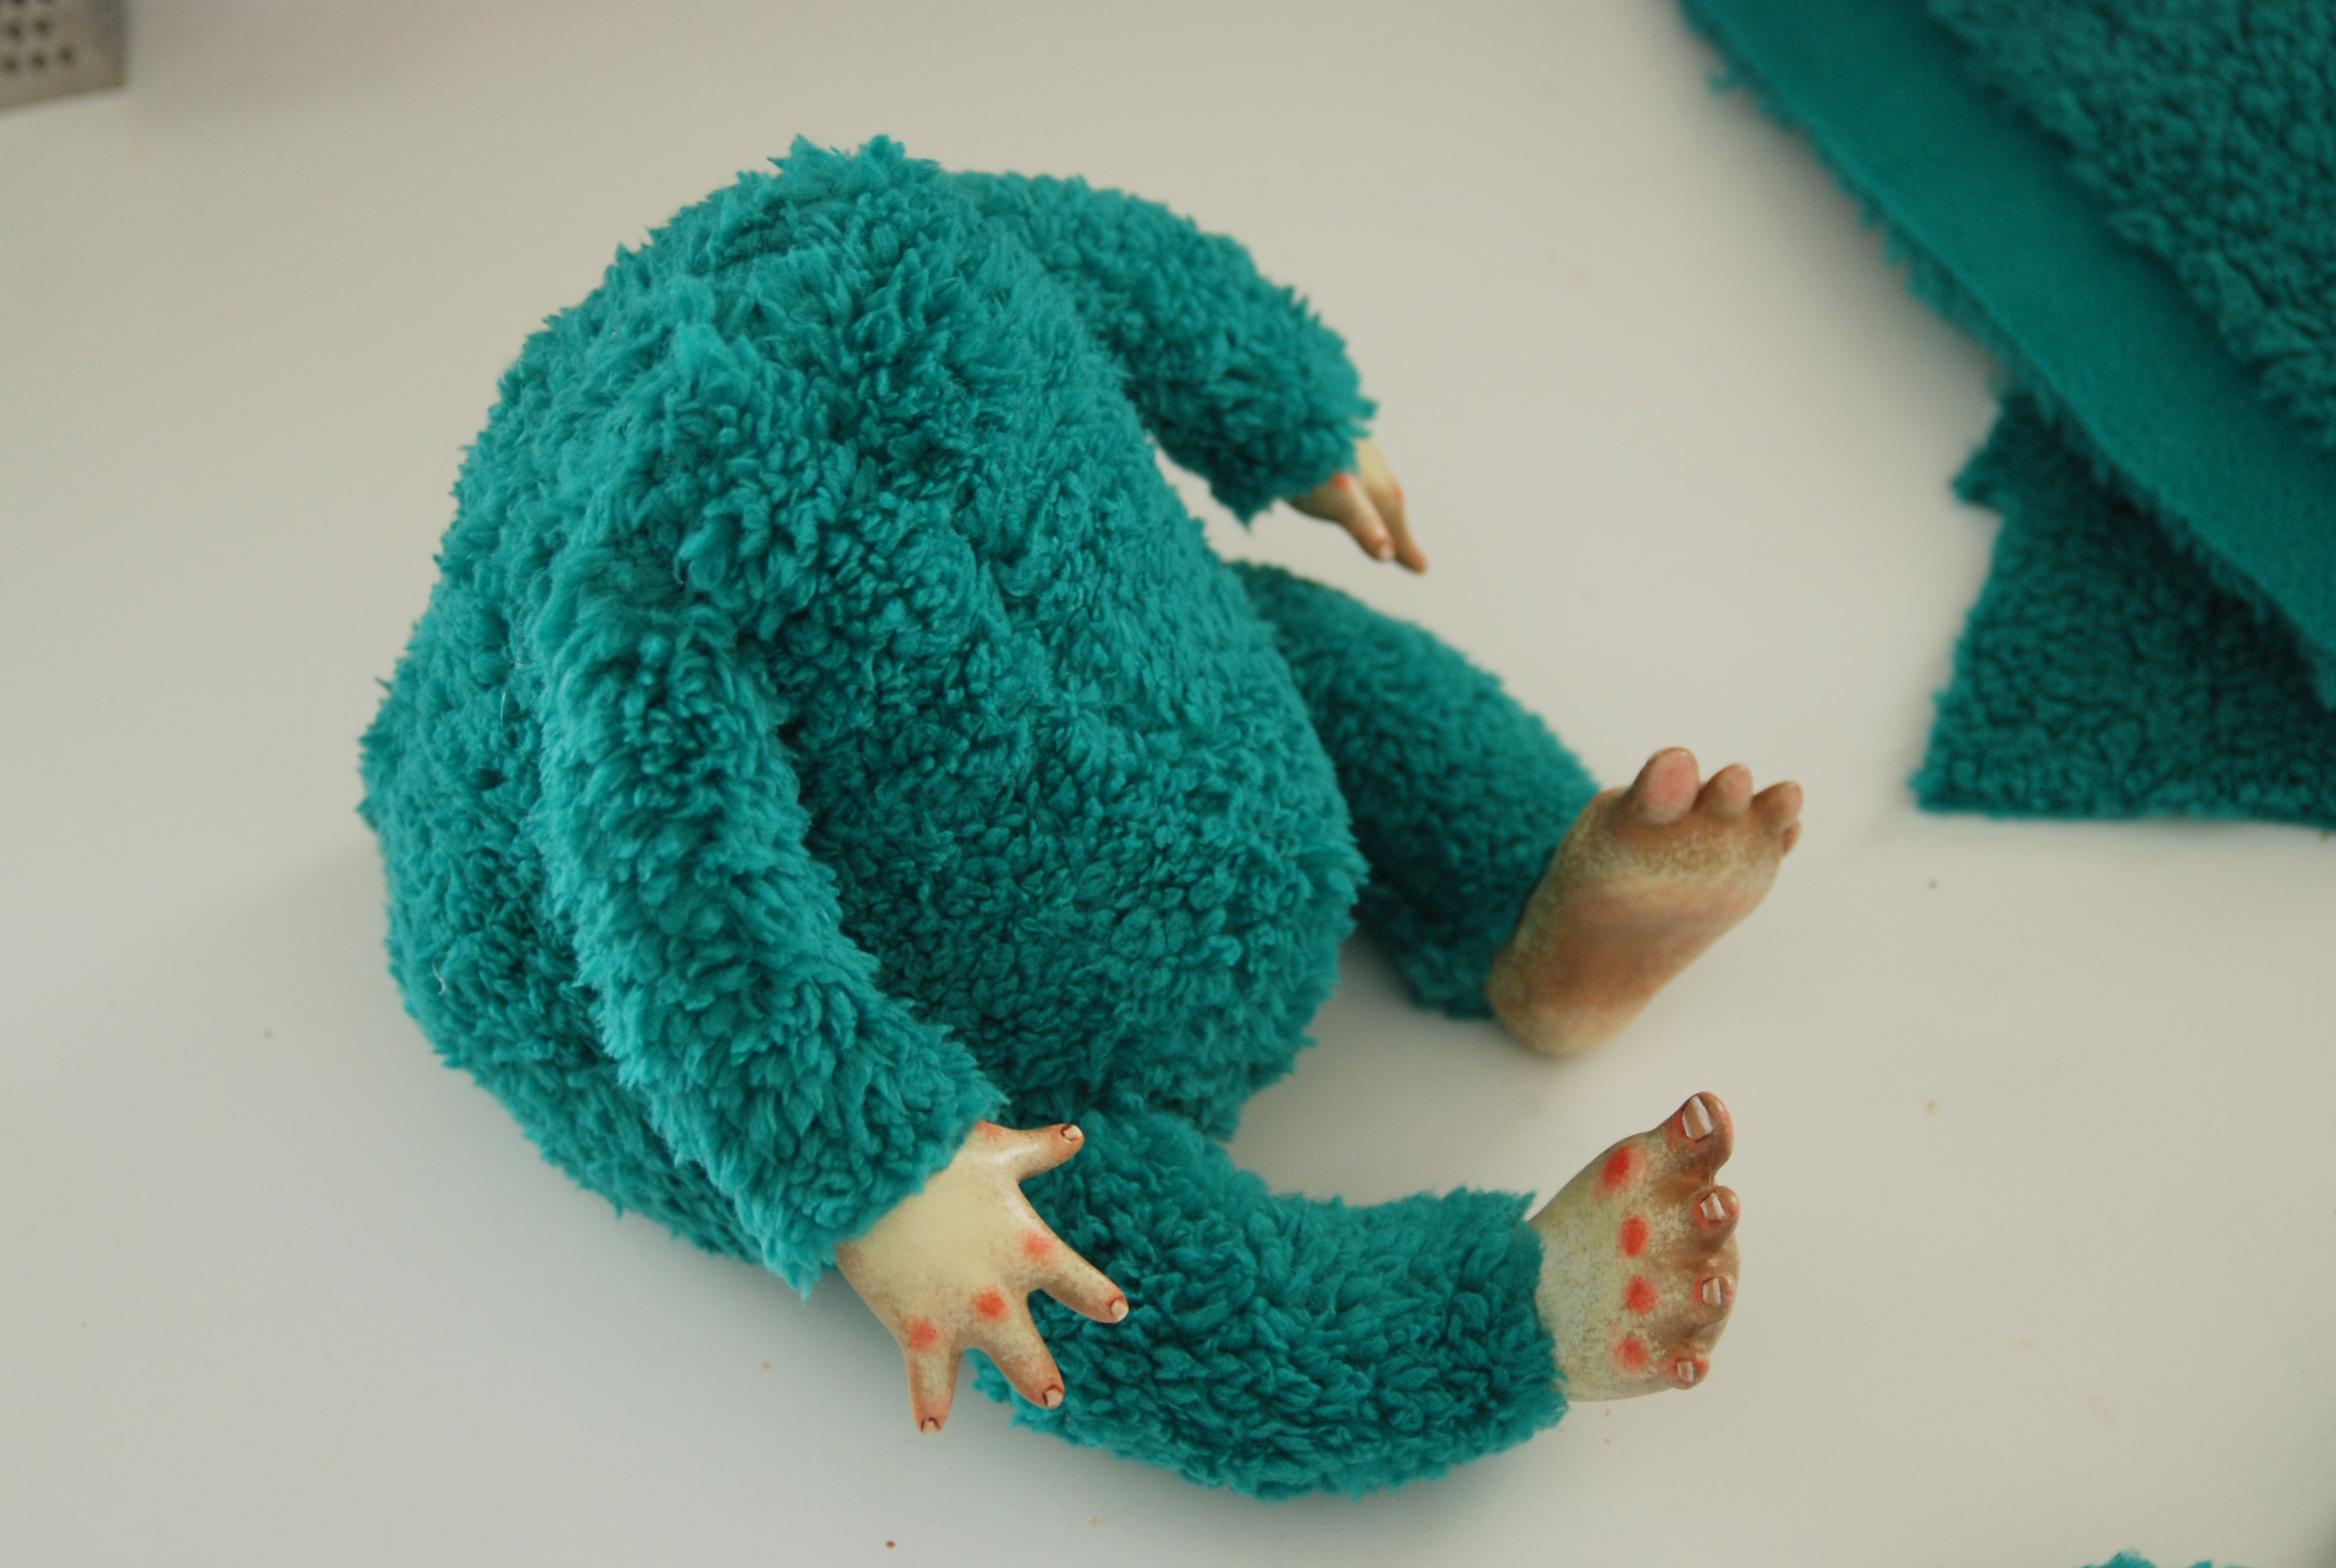
The limbs of the bear, along with the body, have been stuffed and sewn in place. Weight pebbles were added into the bears bottom so he can sit and balance on his own. The sculpted hands and feet are glued and secured.
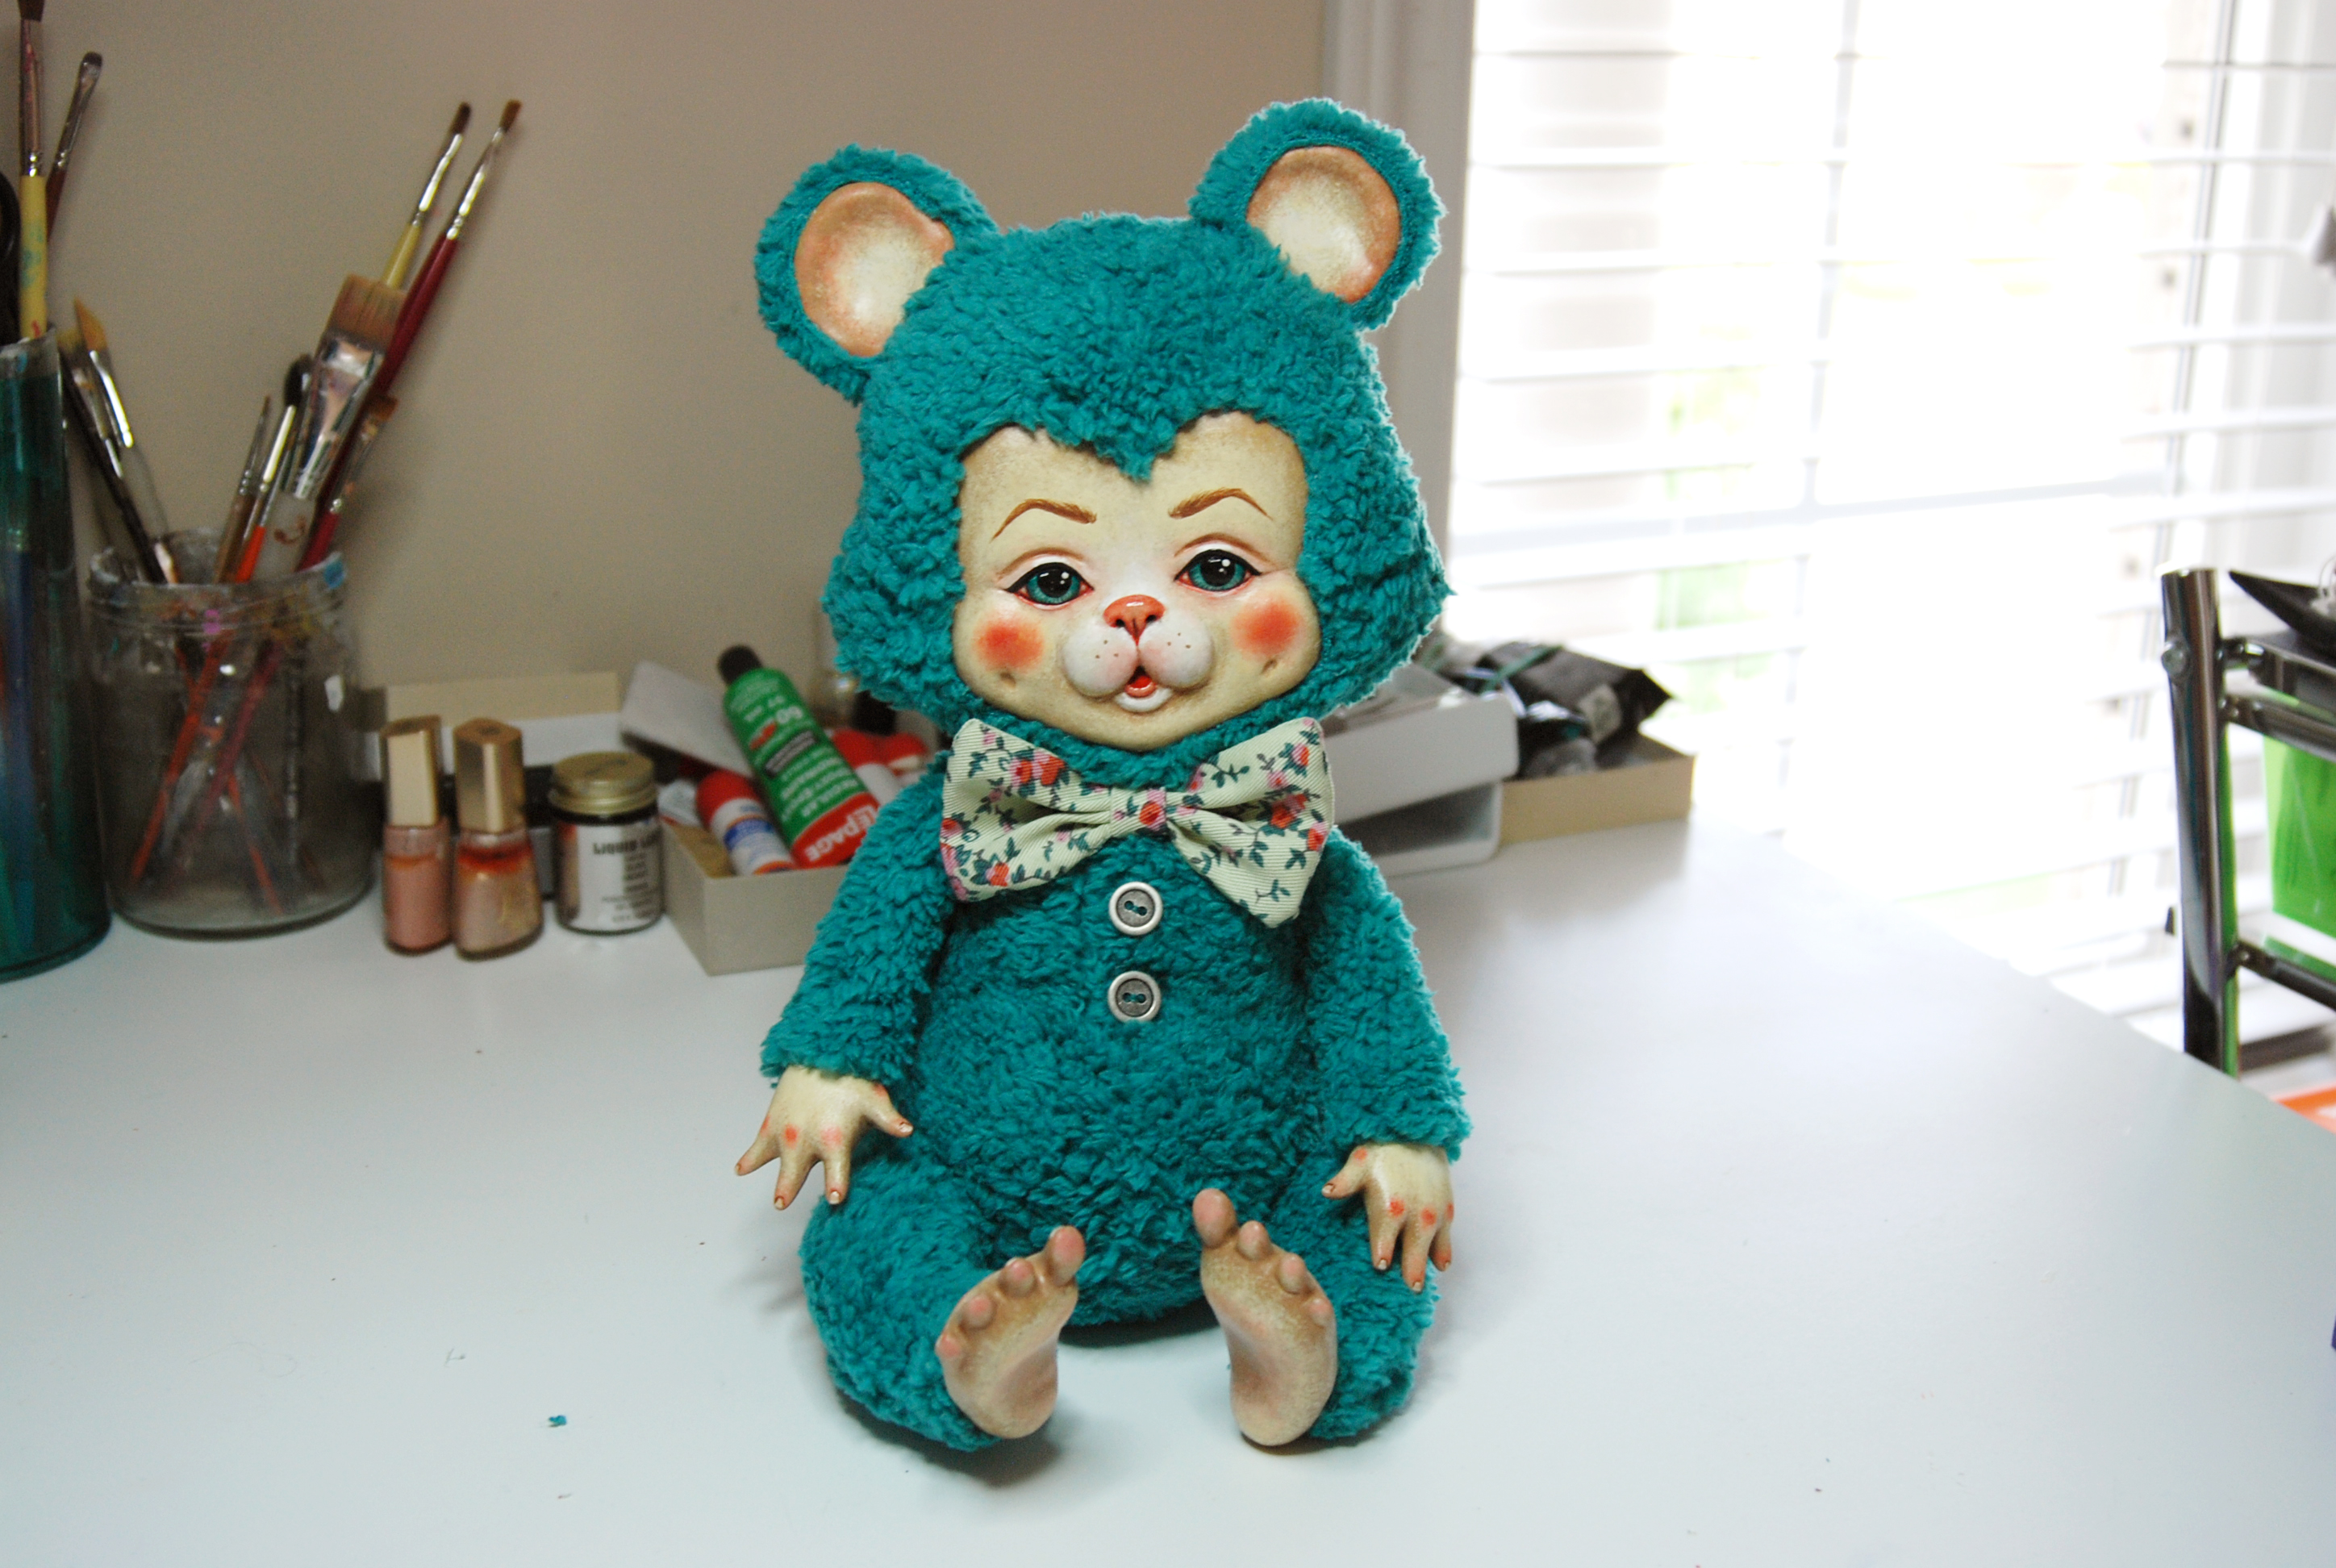
And here he is, all finished and ready to play!